
After scouring the internet for decently priced leather-bound non-lined hardcover books (so specific, I know) I came to the realization that what I was after simply does not exist in my price range. The affordable leather books I came across were clearly some kind of mass produced, low quality drop-shipping books I didn’t want to buy.
Purchasing all the supplies needed still only cost a bit less than half the price of the gorgeous books I was seeing all over Etsy for $300. I’ve taken quite a few pictures with this blog post in mind, but please don’t take this as a tutorial. I made many mistakes but I’m still very happy with the outcome! Handcrafting my own, personal book of shadows was such an amazing experience and so, so fulfilling for me.

Before we get started, I want to go over the supplies that I ordered. I got the bookbinding set above for $30, along with some PVA glue. I also bought 2 mixed media sketchbooks, because I knew I wanted to eventually do some kind of paintings in my book of shadows. For the cover, I ordered a piece of 12×24″ black lightweight cowhide leather.
I also used quite a few resources. Please watch their videos instead of using this blog post as a tutorial if you would like to bind your own book. They’re actual professionals who do things so beautifully. I made tons of mistakes along the way. I found the YouTube channels DAS Bookbinding and Four Keys Book Arts very helpful. I also found a some DIY YouTube Channels inspiring like Jess Less and Nerdforge.
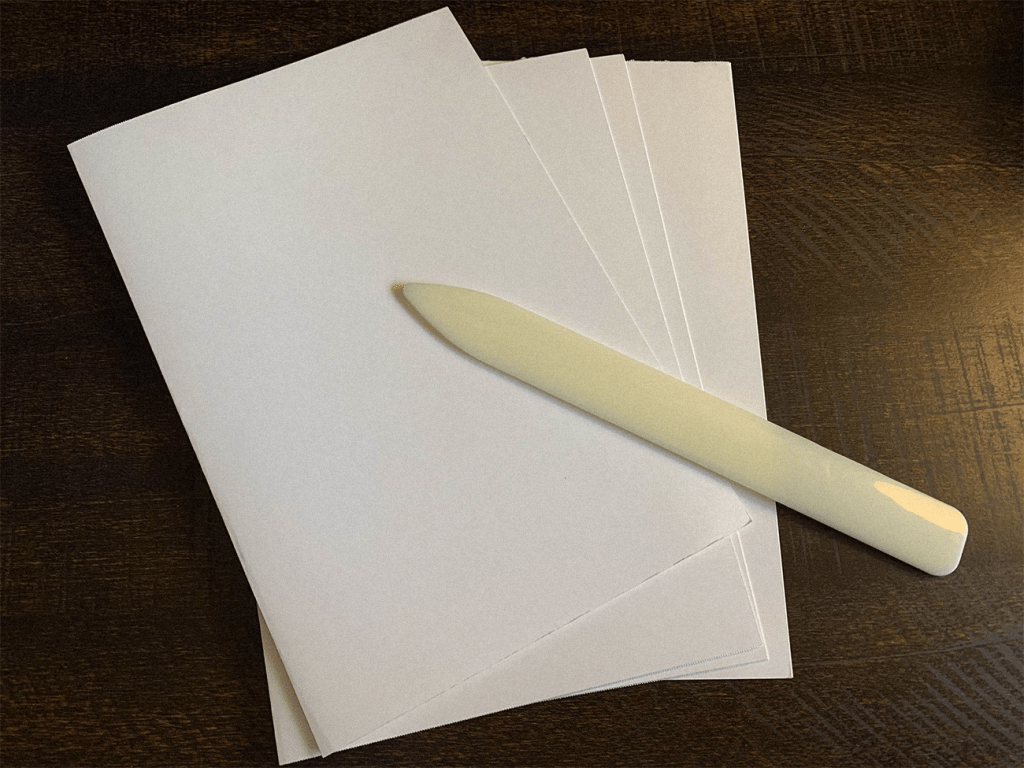
I pulled all the pages out of the sketchbooks and started folding them with this bone folder tool, shown above. Knowing that I wanted to use this book for the rest of my life, and potentially pass it down to my son, so I ended up folding all the pages of both the sketchbook. I knew I’d be disappointed if I felt like there wasn’t enough pages.

What took the longest, was the time in between actually working on the book. I could only find uninterrupted time at night when my toddler was asleep, so I would work on it in the evenings and then press the pages over night and all the next day.
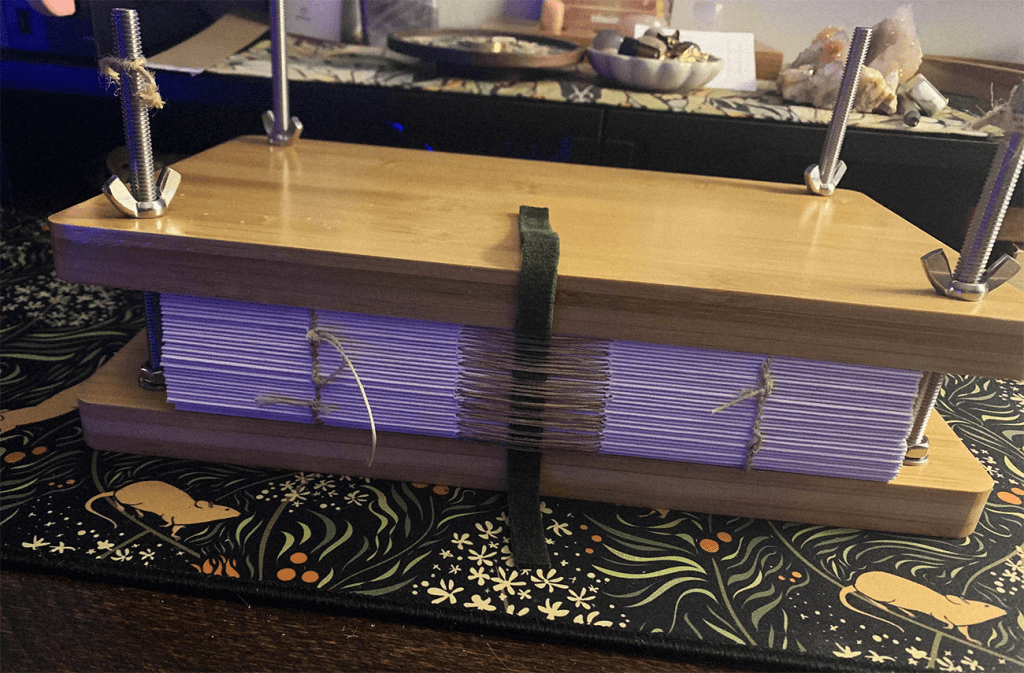
Sewing the text block was the hardest part for me. I was second guessing myself a lot, especially around how tight/loose to sew these signatures together. I was also really worried because the text block itself is gigantic (go big or go home, right?) I was really nervous about how well it would stay together when I was finished sewing them.
There’s a set of tutorials by Four Keys Book Arts that was so helpful for this, but I still think I made a lot of mistakes while sewing. I’m pretty sure it’s just one of those things you need to keep practicing to get better at. I imagine my next book will look and feel a lot better.

After sewing the signatures, it was time to glue the spine. This helps the book be more sturdy and stay together. This is where I attached my two bookmarks (a thicker green ribbon that I really like) and haphazard headband. I wish I spent more time on the headband, but it felt strangely daunting and I was afraid I wouldn’t like the outcome.
I used quite a bit of glue and then this mesh or cheesecloth-style mull fabric. After that I added this ribbon to the spine. I think this was just something I did intuitively. I wanted to make sure this spine was as sturdy as possible because it was so thick compared to the projects I had been seeing in tutorials. It created a bit of a unwanted texture on the spine where the two pieces of ribbon overlap, but I don’t mind.
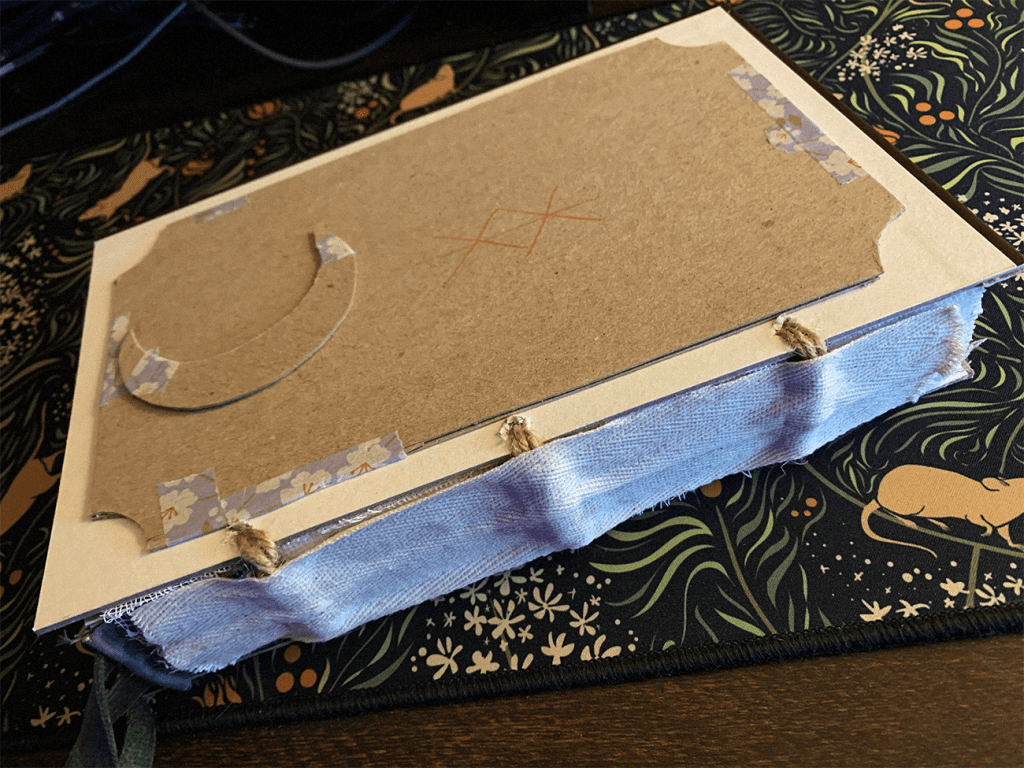
I repurposed an existing sketchbook cover for the top and bottom covers, because the cardstock I purchased was the wrong thickness. The “embossing” or raised bits on the cover are me utilizing that cardstock. I do wish I spent more time on this cover, as I kind of eyeballed and just went for it. I do really like how it turned out still. I also added multiple protection sigils for my book (only one shown)
I don’t have a photo of it, but I used twine to attach the text block to these front and back covers. You can see it glued under the fabric here, before I put the leather on the cover itself. This created 3 ridges on the outside of the book, that I was able to manipulate the leather around. I feel like it gave it a more “medieval” kind of look too.

Finally, after days of work, I put the leather on the cover. I got the leather damp as it’s easier to manipulate that way and started with the spine. It’s one piece of leather I cut out to fit the back, spine and front. I saturated the entire piece of leather with PVA glue. I then used first my hands, to manipulate the leather into every nook and cranny of the embossing. After I went over the same spots with my bone folder tool to really make sure it was showing the differences in height between the cover and the raised parts of decoration.
I then attached the end sheets. I used a brown thin cardstock for this. I had planned to get some kind of fancy paper but I couldn’t find any places online that sold single sheets. I found that a lot of end paper was more expensive because of the fancier designs. I do like the simplicity of the brown cardstock on the inside.
So, I guess the question is.. was it worth it? Yes!
I think learning any new skill is worth the time, energy and money put into it. I really, really enjoyed this project. I know it’s not as perfect, nor as beautiful as some of the books I was looking at online that went for hundreds of dollars. But it’s something I made with my hands and it means so much more to me because of that. I found a new passion and I’d love to start rebinding existing books and creating notebooks or journals as gifts for friends and family sometime in the future.

Leave a comment